How to sharpen an image with Image Dream
- Welcome to our new tutorial for jalada Image Dream!
- In this tutorial you will learn: How to sharpen a picture.
- First of all load the example picture into Image Dream. You could get this picture from our site.
- In the title bar you see the map menu, go to it to open the menu.
- Click on the "details" button to enter the details room.
- Click on the left drawer for using tools.
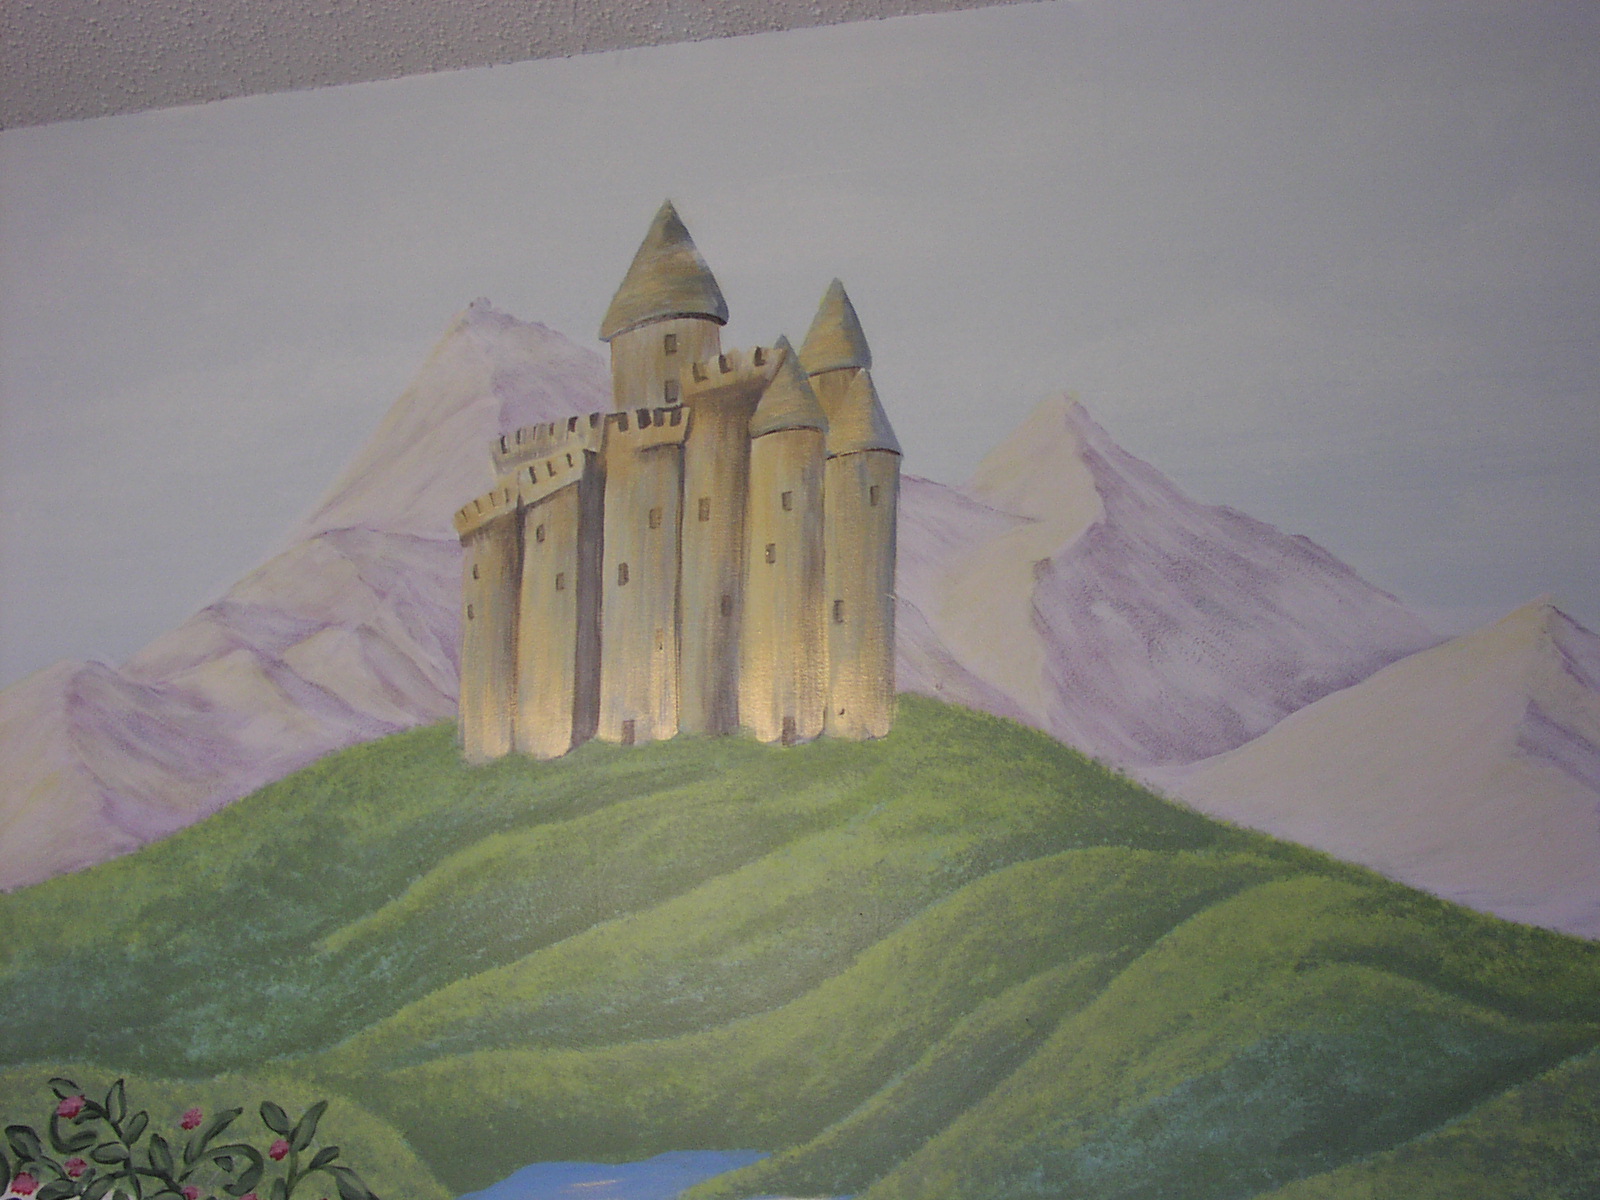
- You see here a wall painting which looks a little bit blurry.
- Let us sharpen this painting.
- For precise work - we should zoom into the picture.
- Select the magnifying glass and click on the castle.
- Press onto the "sharpen" button to switch into this mode.
- Now we should use the big flat brush to sharpen the castle.
- Look at the merlons after our painting how sharp they are now.
- Overpaint the tower and walls
- See you how sharp the castle now is?
- Now we should over paint the meadow - and also the hills.
- It's time to have a look at the whole picture, so let us zoom out.
- After that we should paint the bottom part of the picture, so that we see more details.
- You want more sharpness, so double click onto the "sharpen"-button.
- Now paint again the castle, do you see the difference?
- Paint the meadows again.
- Open the menu and go to the out room.
- To save your work you must press the "apply" button.
- Export your picture by pressing the "save" button or print it out or send it by email to a friend.
- Many thanks for watching our tutorial.
Tutorial